Showing posts with label Homemade. Show all posts

Saturday, 11 February 2017

Gressingham duck legs marinated in homemade plum sauce

I haven't had the luxury of time to forage for berries in the wild last year, also the community orchard nearby has been stripped bare by some greedy leeches in the early seasons, so no apples or plums either. Indeed this is very disappointing as my pantry collection requires urgent replenishing!

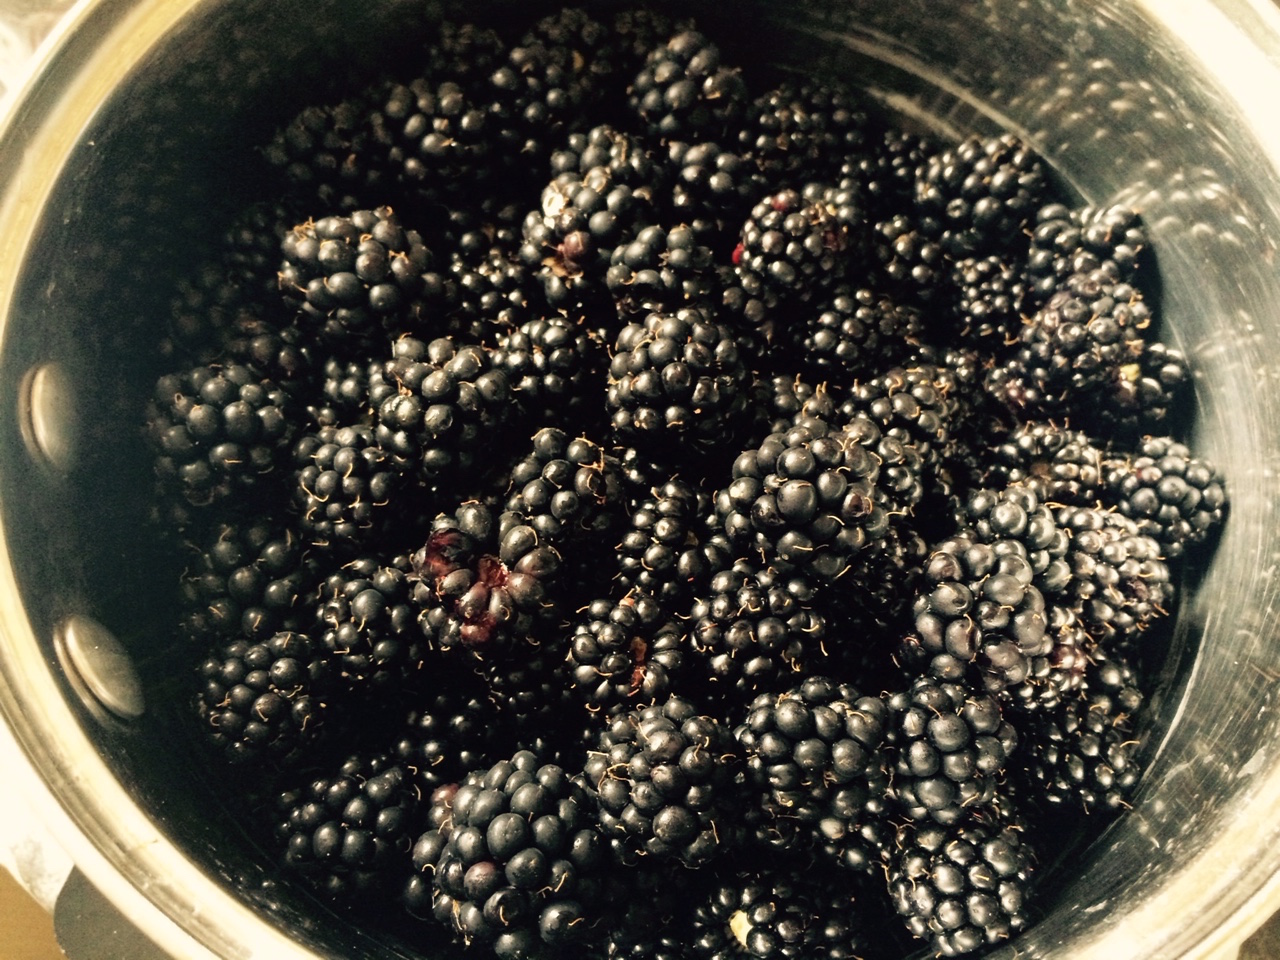
I recently put my last bottle of plum sauce into use, and just realised I did not write a post on making plum sauce! I gathered over 6kg worth of plums last year and made A LOT of plum sauce. They taste even better after being left on the shelves for a year.

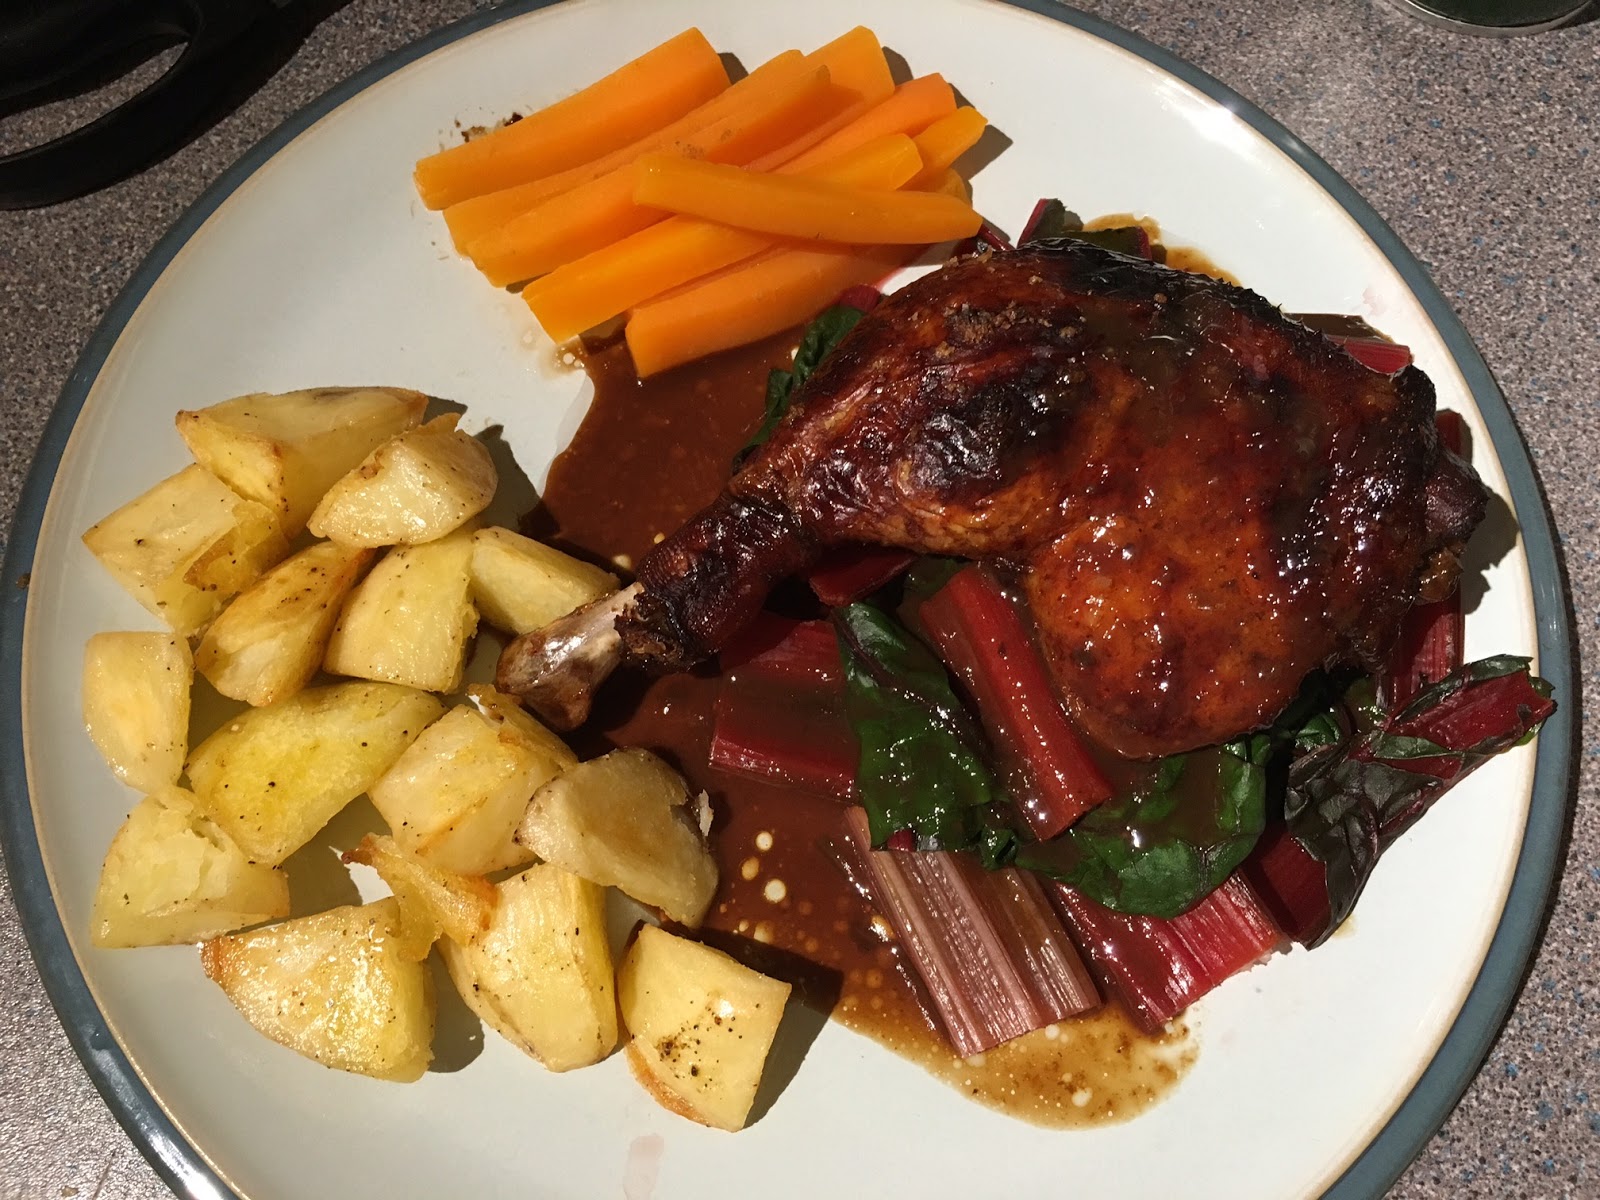
The end result is Gressingham duck legs marinated in plum sauce overnight, grilled and serving with steamed chard, carrots and roast diced potatoes. If I may say so the combination was gorgeous. The earthiness of the chard balanced the sweetness of the plum sauce, which also has a hint of sharpness! 


Serves 2

2 Gressingham duck legs (or duck breasts if preferred) 
2 maris piper potatoes, diced
1 bundle of red Swiss chard, separate the leafs and the stems
250ml of plum sauce 
Dollop of organic unsalted butter

1. Place the duck legs in a freezer bag and pour in the plum sauce then securely seal it. Make sure the legs are coated with plum sauce all over. Leave in the fridge overnight. 

2. The next day, peel and dice the potatoes, as well as peel and prepare the carrots. You may prefer leaving the skin on which is also fine.

3. Preheat the oven to 180°C. 

4. Place a frying pan over medium heat. When it is hot enough add a dollop of butter, wait for it to sizzle then place the duck legs on skin down and cook for 8 - 10 minutes until brown.

5. Transfer the duck legs into a baking tray and carefully pour in the plum sauce so it doesn't touch the skin. Sprinkle a generous amount of sea salt on top.

6. Put the diced potatoes into a separate baking tray, season with salt & pepper and a generous amount of oil. Massage them and place both the duck legs & potatoes into the oven, with the duck legs on the higher shelve. 

7. Cook in the oven for an hour or so. It is OK to have duck a little pink in the middle and that's how I have mine, so feel free to adjust the timing in accordance to your taste. 

8. Make sure the potatoes are periodically tossed and turned so they don't become stuck to the tray.

9. Around 20 minutes before the duck legs are ready, boil the kettle and place the carrots & stem of swiss chard into the steamer and steam for 15 minutes or until soften. Add in the swiss chard leaves and steam for further 5 minutes.

10. Plate up the duck legs, diced potatoes and vegetables. Before ordaining the dish with the plum sauce juice, you may wish to spoon out as much of the duck fat as possible.


Tuesday, 27 October 2015

Homemade Rosehip Syrup & Rosehip Facial Oil

Have you ever notice these vibrantly red, fruit of the wild rose bushes? They are plentiful in the English countryside and it is a super wild food for immune systems as well as for youthful skin! Rosehip is a great source of vitamin C, 20 times the amount of vitamin C in oranges. To keep the nation health, during the austerity of the WWII, the British government encouraged the public to gather rosehips. They were then collected and processed into rosehip syrup by the Ministry of Food and were sold to the public at a discounted price in Welfare Clinics.

Rosehip syrup has an unique and delicate flavour. It can be enjoyed as a cordial, spooned over pudding or ice cream.

Today our high street is full of various vitamin supplements and those who uses rosehip syrup as vitamin C supplement is rare. However, another form of rosehip product has become immensely popular in recent years - rosehip oil. Apparently it is the best kept secret of many celebrities to keep their skin youthful and hydrated. There is a huge selection of branded rosehip oil available on the high street. I am sure they are as pure as they claimed to be but surely nothing is better for the skin than products made by your own fair hands?

This autumn I've been busy harvesting rosehips in the country to make my own rosehip syrup to fight off the cold/ flu, and the best rosehip oil to keep my skin looking youthful. They are a bit of a bugger to gather as we all know, rose bush is very thorny so considered you are warned!


Rosehip Syrup

Make approximately 1L

1kg rosehips
250g white granulated sugar

1. Clean the rosehip under cold tap water.

2. Bring 1.5L water to the boil in a preserving pan.

3. Mince the rosehips in a food chopper and transfer into the boiling water.


4. Bring to boil and allow to stand for 15 minutes before pouring the mixture through a muslin cloth, and allow it to drip until most of the liquid has come through. Reserve the pulp.

5. In the cleaned preserving pan, bring 750ml fresh cold water to the boil. Stir in the reserved pulp and repeat step 4 but discard the pulp in the end.

6. Combine the 2 solutions to the cleaned preserving pan and boil to reduce the liquid at around 1 litre.

7. Add the sugar and boil for a further 5 minute so it dissolve well.

8. Bottle the liquid into hot sterilised bottles and seal.


Rosehip Facial Oil

Make approximately 200ml

400g rosehips
250ml organic jojoba oil*
5ml pure vitamin E oil**
5ml Frankincense essential oil**
7 x amber pipette bottle
1 Milton tablet
1L water

* I have chosen to use jojoba oil as the base oil here as I feel it would suit my skin type the best. Jojoba has excellent moisturising properties and can be easily absorbed without leaving the skin feeling greasy. Depending on your skin type, you may choose to use other odourless carrier oil, such as wheatgerm oil, apricot oil, almond oil etc

** To create a truly tailor-made serum, I've added a few drops of vitamin E & Frankincense essential oil into concoction. Vitamin E is a powerful source of antioxidant which helps to regenerate and nourish the skin; Frankincense helps to relieve anxiety and to prevent ageing of the skin. There are plenty of other essential oil widely available so choose the ones that suit your needs best. Always go for the best quality you can afford.

1. Clean the rosehips under cold tap water.

2. Ensure the hairy heads and stems are cut off.

3. Slightly crushed them in a mortar and pestle so the goodness can easily released into the oil.

4. Preheat to oven to its lowest heat available.

5. Put the rosehips into an oven proof jar (I used a Kilner jar here) and pour in the carrier oil of your choice.

6. Cover the jar and place in the middle of the oven for a few hours.

7. Take the jar out and let it cool down.


8. Once the oil has cooled down, pour the oil through a muslin cloth and allow it to drip until most of the oil has come through.


9. Meanwhile, dissolve a Milton tablet in a saucepan of water in accordance to the instructions on the packet.

10. Soak the amber pipette bottles in the Milton solution for a period of time (always check instructions on the packet).

11. To dry the bottles, place them on a baking tray lined with baking paper and leave in a low heat oven until they are completely dried of Milton solution.

12. Add in the vitamin E & Frankincense oil into the jojoba & rosehip solution.

13. Mix the oil gently. Whatever you do please DO NOT shake the oil as it could change the properties of the oil and cause it to go off much quicker.

14. Decant the oil into the amber pipette bottles and seal.

They should last for about a year. Keep them out of direct sunlight.

To avoid contamination, when applying the oil please take care so the dropper doesn't touch the skin.

Monday, 31 August 2015

Homemade Blackberry Jam

And so the foraging walks continue.... This time we have been busy gathering blackberry. They are so abundant near where we live and I cannot understand why not more people are picking and making use of these beauty. They are FREE for all!! 150g of blackberry will easily costs £1.50 from the supermarkets. I suppose from my point of view there are more for me! 

I perception on jam making has always been 'a bit of a faff'. Reason being I saw all these variety of jam making kit available in Lakeland and I thought: 'Gosh, this is so much effort, and all the gear that is required!' Well, how wrong was I. Again, there many different types of ham and preserves recipes available, and I found one that requires minimal effort... excellent! It is so simple to make that I am addicted to gather more berries and produce more jam, which makes perfect Christmas gifts for friends and family. 

Aren't they gorgeous? They are very sweet and juicy as well.


600g blackberries
350g soft brown sugar

1. Put the blackberries into a large sieve and rinse under running water.

2. Tip blackberries into a large pan, cover it and cook on a low heat for 15 minutes.

3. Take it off the heat and use a potato masher to press the berries.


4. Warm the sugar in the oven in the lowest heating.

5. Heat the berry puree to boiling point, remove from the heat and add the warm sugar. Stir over low heat until sugar is completely dissolved.

6. Bring the mixture to the boil and boil rapidly until it begins to thicken. I find this takes approximately 40 minute depending on personal preference.

7. Meanwhile, prepare the jam pots. On how to sterilise jam pots please lick here.

8. While the jam is hot, fill the pots to the brim and cover with the crew cap/ lid.

9. Label the pots if desire. Store in a cool and dark cupboard.

Wednesday, 26 August 2015

Homemade Elderberry Cordial

We are now into late summer, the wild berries are in full bloom, especially after a bit of rain and sunshine. The countryside is beaming with blackberries, crab apples, elderberries etc 

My friend and I went on a foraging walk and gathered some elderberries that looks exquisitely like semi precious germ stone. We were too busy picking that I forgot to take a picture of these beauty. For those who are unsure what elderberry looks like, here is a picture I found on Google Images:


There are so many different elderberry cordial recipes widely available and it really is so simple and fun to make. Do be careful and not wear any nice or light colour clothing as the berries do stained.

I didn't really measure how much cordial I have produced, but you get the idea:


It is very important to sterilise the bottles or jam pots properly, otherwise the content will be spoiled within days. I always keep all the interesting glass bottles or jam pots for the pantry or for making homemade goodies as such. Sterilising is simple to do and here is how:

1. Wash the bottles/ jam pots and caps under hot soapy water. Drip dry them on draining board.

2. Preheat the oven at the lowest heat.

3. Place the bottles/ jam pots and the caps on a baking tray and place into the oven until all liquid evaporated. They can be left in the oven until you are ready to bottle/ pot the content.


750g granulated sugar
700g elderberries 
800ml water

1. Get the elderberries off into a large sieve by using a fork. Rinse under running water to get rid of any bugs etc.

2. Boil 800ml water in the kettle and pour into a large mixing bowl. Preferably not stainless steal, as I find this will give the liquid a metallic taste.

3. Mix in the sugar and stir to dissolve. 

4. Add the elderberries and stir occasionally. Leave for at least 24 hours. 


5. To enhance the flavour and colour, press the berries against the bowl using a spatula to release the juices. 

6. Sieve through a muslin cloth. Alternatively I find a pair of brand new stockings does the trick just as well. 


7. Pour into cleaned and sterilised glass bottles. Seal with caps straightaway.

Tuesday, 25 August 2015

BBQ Organic Lamb Burger with apricot, onion & chilli

Saturday was absolutely scorching. The South East was at around 28C and at times I literally didn't know what to do with myself, apart from keeping hydrate with a glass of cold sparkling water with a splash of grenadine cordial. 

Knowing the rest of the coming week will be raining everyday and Saturday could be the last day of summer, I was determine to make the most of it. There is not a better way to spend a sunny Saturday than lounging around in the sun and have a long BBQ. A few bits was on offer: beef kebabs, sausages, salad, baked whole sea bass and homemade lamb burger. 

Burgers are so easy to make, any I often find them more tasty than pre-made ones, as one has the ultimately control of seasoning. Rather than going for beef, I went for lamb burger with apricots, chopped onion and chilli. As a treat. I went for Waitrose Duchy Organic lamb mince instead. I must say the meat has made a difference. The burger stayed moist and juicy.

Look how colourful they are with the yellow, red and purple!


Makes 4

400g Waitrose Duchy Organic lamb mince
1 egg
1 red onion finely chopped
1 red chilli, finely chopped
5 apricots, chopped
Season with salt & pepper

1. Prepare the onion, chilli and apricots then mix them with the mince.

2. Season the mixture with freshly ground peppercorn & sea salt.

3. Crack in an egg and mix them up.

4. Place a bowl onto an electric scale and weight the mixture. Mine was a total of 600g.

5. Have some greaseproof paper at the ready.

6. Divide the mince in to 4 proportion and place each proportion into a burgher shaper then press hard.

7. Place the perfectly shaped burger onto a piece of greaseproof paper and repeat step 6.

Now you have 4 perfectly shaped lamb burger ready to be barbecued! 

Sunday, 23 August 2015

Mary Berry's Shrewsbury Biscuits & Cornish Fairings

Whenever I need to bake, I always go for Mary Berry's recipes as they always work like a treat. I particularly like the traybake recipes as they are quick and simple enough. The variety of victoria sandwich sponge recipes are also excellent. 

If you like classic bake goods, I personally I would highly recommend Mary Berry's Baking Bible over any other baking cookbook available on the market. I have tested a wide range of recipes from this book and have never had a bad experience. Some online retailers are selling this book at a very reasonable price.


I have recently used a couple of biscuits recipe from the book: 

Shrewberry Biscuits - They are not dissimilar to fruit shortcake. I was a little heavy handed with the sprinkle of sugar.

Cornish Fairings - They are like ginger biscuits, very autumn & Christmasy! What I like about this recipe is the technique of rolling a small dough, bake the biscuits half done and press them down using another baking tin to create this crinkly cracks. I thought these cracks help to create a more professional look to them. 

I bagged these biscuits up and took them to friend's for tea, and excellent goody bag!


Tuesday, 11 March 2014

Italian Kitchen - Homemade Pizza

The proper traditional Italian pizzas usually have a very few toppings and not dripping with cheese like the one we have in the UK. Nonetheless, I must admit I love to overload mine with everything, especially cheese! Being with someone who is lactose-intolerant means I seldom have pizza as dinner, unless it is homemade, of course. Yes, 'His & Hers' pizza is the best way, no arguments over who should have the last slice or how much olives should go on it etc.

This one clearly is a 'Hers' pizza :D 


Making your own pizza is rather therapeutic process: choosing ones favorite toppings and leaving out the capers and pineapple (yuck)! The dough was machine-made by bread maker following its manual. Depending on individual's preference, my base was rolled out as extra-thin. The tomato sauce was made by the ex-pizza chef (the other half) and as for the toppings I opted for: sliced mushrooms, sliced onion, roasted red pepper, sliced black olives, spinach, tinned anchovies and A LOT of grated extra matura cheddar AND parmesan! 

I was in pizza heaven that evening :)