Showing posts with label Organic. Show all posts

Wednesday, 2 December 2015

Chicken Wings with Potatoes (薯仔雞翼)

There is an old saying: 'The closer to the bone, the sweeter the meat'. I've been converted to that belief ever since I was a child, and it stems from my mother. She taught me how to eat a boney fish without chocking; tackle spareribs so all the meat comes off the bone and enjoy chicken wings. I love chicken wings and I consumed a lot of them when I was a child. Since I became more aware of animal welfare I now only consumed high welfare chicken wings, and Waitrose Duchy Organic Free Range Chicken Wings are like godsend. They are so meaty and flavoursome, I only wish other supermarkets would follow suit.

This is a very simple dish, and the key is to let the chicken wings marinade for long enough. 


Serves 2

Waitrose Duchy Free Range Chicken Wings 800g
2 potatoes, peeled and diced
1 tsp of palm sugar
1 thumb of ginger, thinly sliced
2 garlic cloves, crushed
1 tbsp of light soy
1 tsp of dark soy
Pinch of sugar
Pinch of ground white pepper
1 tsp of sesame oil
1 tbsp Shaoxing wine
1 tsp of oyster sauce
1 tsp of corn flour

1. Marinate the chicken wings with both soy sauce, sugar, white pepper and sesame oil for a few hours or overnight.

2. Prepare the potatoes.

3. Heat up some oil and fry the ginger and garlic until browned.

4. Brown the chicken wings on both sides and add a splash of Shaoxing wine.

5. Add the diced potatoes. Dissolve the corn flour with some cold water and a splash of light soy, pour in with the chicken and diced potatoes. Add in the palm sugar.

6. Cover the meat and potatoes with just enough water and bring it to boil. Reduce the heat and let it simmer for 20 minutes or until the potatoes are cooked through.

7. Serve with steamed rice and vegetables of your choice.

Tuesday, 27 October 2015

Homemade Rosehip Syrup & Rosehip Facial Oil

Have you ever notice these vibrantly red, fruit of the wild rose bushes? They are plentiful in the English countryside and it is a super wild food for immune systems as well as for youthful skin! Rosehip is a great source of vitamin C, 20 times the amount of vitamin C in oranges. To keep the nation health, during the austerity of the WWII, the British government encouraged the public to gather rosehips. They were then collected and processed into rosehip syrup by the Ministry of Food and were sold to the public at a discounted price in Welfare Clinics.

Rosehip syrup has an unique and delicate flavour. It can be enjoyed as a cordial, spooned over pudding or ice cream.

Today our high street is full of various vitamin supplements and those who uses rosehip syrup as vitamin C supplement is rare. However, another form of rosehip product has become immensely popular in recent years - rosehip oil. Apparently it is the best kept secret of many celebrities to keep their skin youthful and hydrated. There is a huge selection of branded rosehip oil available on the high street. I am sure they are as pure as they claimed to be but surely nothing is better for the skin than products made by your own fair hands?

This autumn I've been busy harvesting rosehips in the country to make my own rosehip syrup to fight off the cold/ flu, and the best rosehip oil to keep my skin looking youthful. They are a bit of a bugger to gather as we all know, rose bush is very thorny so considered you are warned!


Rosehip Syrup

Make approximately 1L
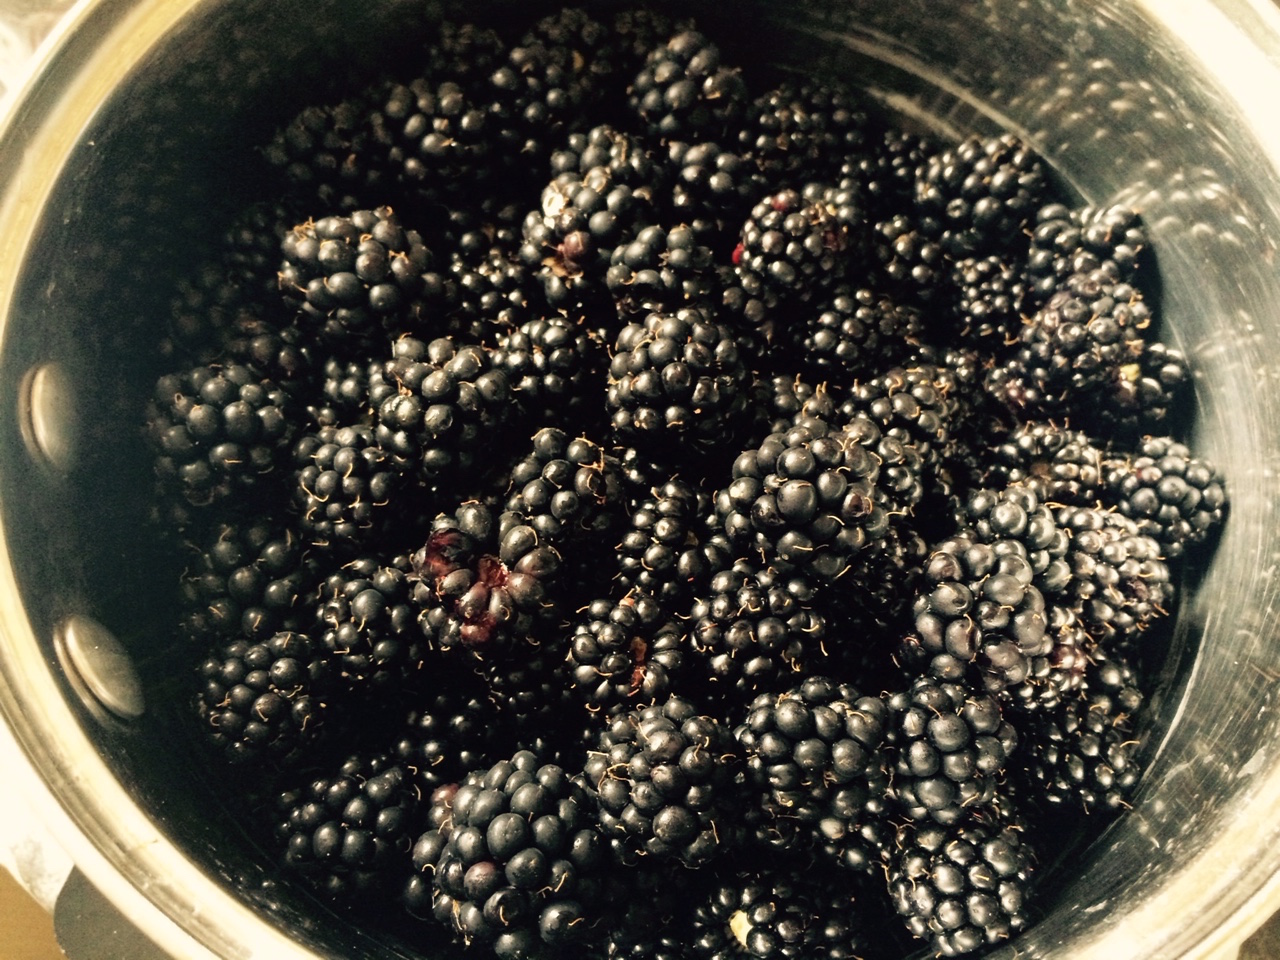
1kg rosehips
250g white granulated sugar

1. Clean the rosehip under cold tap water.

2. Bring 1.5L water to the boil in a preserving pan.

3. Mince the rosehips in a food chopper and transfer into the boiling water.


4. Bring to boil and allow to stand for 15 minutes before pouring the mixture through a muslin cloth, and allow it to drip until most of the liquid has come through. Reserve the pulp.

5. In the cleaned preserving pan, bring 750ml fresh cold water to the boil. Stir in the reserved pulp and repeat step 4 but discard the pulp in the end.

6. Combine the 2 solutions to the cleaned preserving pan and boil to reduce the liquid at around 1 litre.

7. Add the sugar and boil for a further 5 minute so it dissolve well.

8. Bottle the liquid into hot sterilised bottles and seal.


Rosehip Facial Oil

Make approximately 200ml

400g rosehips
250ml organic jojoba oil*
5ml pure vitamin E oil**
5ml Frankincense essential oil**
7 x amber pipette bottle
1 Milton tablet
1L water

* I have chosen to use jojoba oil as the base oil here as I feel it would suit my skin type the best. Jojoba has excellent moisturising properties and can be easily absorbed without leaving the skin feeling greasy. Depending on your skin type, you may choose to use other odourless carrier oil, such as wheatgerm oil, apricot oil, almond oil etc

** To create a truly tailor-made serum, I've added a few drops of vitamin E & Frankincense essential oil into concoction. Vitamin E is a powerful source of antioxidant which helps to regenerate and nourish the skin; Frankincense helps to relieve anxiety and to prevent ageing of the skin. There are plenty of other essential oil widely available so choose the ones that suit your needs best. Always go for the best quality you can afford.

1. Clean the rosehips under cold tap water.

2. Ensure the hairy heads and stems are cut off.

3. Slightly crushed them in a mortar and pestle so the goodness can easily released into the oil.

4. Preheat to oven to its lowest heat available.

5. Put the rosehips into an oven proof jar (I used a Kilner jar here) and pour in the carrier oil of your choice.

6. Cover the jar and place in the middle of the oven for a few hours.

7. Take the jar out and let it cool down.


8. Once the oil has cooled down, pour the oil through a muslin cloth and allow it to drip until most of the oil has come through.


9. Meanwhile, dissolve a Milton tablet in a saucepan of water in accordance to the instructions on the packet.

10. Soak the amber pipette bottles in the Milton solution for a period of time (always check instructions on the packet).

11. To dry the bottles, place them on a baking tray lined with baking paper and leave in a low heat oven until they are completely dried of Milton solution.

12. Add in the vitamin E & Frankincense oil into the jojoba & rosehip solution.

13. Mix the oil gently. Whatever you do please DO NOT shake the oil as it could change the properties of the oil and cause it to go off much quicker.

14. Decant the oil into the amber pipette bottles and seal.

They should last for about a year. Keep them out of direct sunlight.

To avoid contamination, when applying the oil please take care so the dropper doesn't touch the skin.

Monday, 31 August 2015

Homemade Blackberry Jam

And so the foraging walks continue.... This time we have been busy gathering blackberry. They are so abundant near where we live and I cannot understand why not more people are picking and making use of these beauty. They are FREE for all!! 150g of blackberry will easily costs £1.50 from the supermarkets. I suppose from my point of view there are more for me! 

I perception on jam making has always been 'a bit of a faff'. Reason being I saw all these variety of jam making kit available in Lakeland and I thought: 'Gosh, this is so much effort, and all the gear that is required!' Well, how wrong was I. Again, there many different types of ham and preserves recipes available, and I found one that requires minimal effort... excellent! It is so simple to make that I am addicted to gather more berries and produce more jam, which makes perfect Christmas gifts for friends and family. 

Aren't they gorgeous? They are very sweet and juicy as well.


600g blackberries
350g soft brown sugar

1. Put the blackberries into a large sieve and rinse under running water.

2. Tip blackberries into a large pan, cover it and cook on a low heat for 15 minutes.

3. Take it off the heat and use a potato masher to press the berries.


4. Warm the sugar in the oven in the lowest heating.

5. Heat the berry puree to boiling point, remove from the heat and add the warm sugar. Stir over low heat until sugar is completely dissolved.

6. Bring the mixture to the boil and boil rapidly until it begins to thicken. I find this takes approximately 40 minute depending on personal preference.

7. Meanwhile, prepare the jam pots. On how to sterilise jam pots please lick here.

8. While the jam is hot, fill the pots to the brim and cover with the crew cap/ lid.

9. Label the pots if desire. Store in a cool and dark cupboard.

Wednesday, 26 August 2015

Homemade Elderberry Cordial

We are now into late summer, the wild berries are in full bloom, especially after a bit of rain and sunshine. The countryside is beaming with blackberries, crab apples, elderberries etc 

My friend and I went on a foraging walk and gathered some elderberries that looks exquisitely like semi precious germ stone. We were too busy picking that I forgot to take a picture of these beauty. For those who are unsure what elderberry looks like, here is a picture I found on Google Images:


There are so many different elderberry cordial recipes widely available and it really is so simple and fun to make. Do be careful and not wear any nice or light colour clothing as the berries do stained.

I didn't really measure how much cordial I have produced, but you get the idea:


It is very important to sterilise the bottles or jam pots properly, otherwise the content will be spoiled within days. I always keep all the interesting glass bottles or jam pots for the pantry or for making homemade goodies as such. Sterilising is simple to do and here is how:

1. Wash the bottles/ jam pots and caps under hot soapy water. Drip dry them on draining board.

2. Preheat the oven at the lowest heat.

3. Place the bottles/ jam pots and the caps on a baking tray and place into the oven until all liquid evaporated. They can be left in the oven until you are ready to bottle/ pot the content.


750g granulated sugar
700g elderberries 
800ml water

1. Get the elderberries off into a large sieve by using a fork. Rinse under running water to get rid of any bugs etc.

2. Boil 800ml water in the kettle and pour into a large mixing bowl. Preferably not stainless steal, as I find this will give the liquid a metallic taste.

3. Mix in the sugar and stir to dissolve. 

4. Add the elderberries and stir occasionally. Leave for at least 24 hours. 


5. To enhance the flavour and colour, press the berries against the bowl using a spatula to release the juices. 

6. Sieve through a muslin cloth. Alternatively I find a pair of brand new stockings does the trick just as well. 


7. Pour into cleaned and sterilised glass bottles. Seal with caps straightaway.

Tuesday, 25 August 2015

BBQ Organic Lamb Burger with apricot, onion & chilli

Saturday was absolutely scorching. The South East was at around 28C and at times I literally didn't know what to do with myself, apart from keeping hydrate with a glass of cold sparkling water with a splash of grenadine cordial. 

Knowing the rest of the coming week will be raining everyday and Saturday could be the last day of summer, I was determine to make the most of it. There is not a better way to spend a sunny Saturday than lounging around in the sun and have a long BBQ. A few bits was on offer: beef kebabs, sausages, salad, baked whole sea bass and homemade lamb burger. 

Burgers are so easy to make, any I often find them more tasty than pre-made ones, as one has the ultimately control of seasoning. Rather than going for beef, I went for lamb burger with apricots, chopped onion and chilli. As a treat. I went for Waitrose Duchy Organic lamb mince instead. I must say the meat has made a difference. The burger stayed moist and juicy.

Look how colourful they are with the yellow, red and purple!


Makes 4

400g Waitrose Duchy Organic lamb mince
1 egg
1 red onion finely chopped
1 red chilli, finely chopped
5 apricots, chopped
Season with salt & pepper

1. Prepare the onion, chilli and apricots then mix them with the mince.

2. Season the mixture with freshly ground peppercorn & sea salt.

3. Crack in an egg and mix them up.

4. Place a bowl onto an electric scale and weight the mixture. Mine was a total of 600g.

5. Have some greaseproof paper at the ready.

6. Divide the mince in to 4 proportion and place each proportion into a burgher shaper then press hard.

7. Place the perfectly shaped burger onto a piece of greaseproof paper and repeat step 6.

Now you have 4 perfectly shaped lamb burger ready to be barbecued! 

Monday, 6 January 2014

Classic Shepherd's Pie

Some dishes taste better when it is traditional and proper, and Shepherd's Pie is definitely one of those. Like Cottage Pie, this quintessential English dish was introduced by the poor, using cheap cuts of meat, vegetables and a layer of mashed potato on top.

As it is called Shepherd's Pie, lamb is usually used in this pie and beef is usually used in Cottage Pie.


Serves 4

500g organic minced lamb
1 onion, finely chopped
1 tsp thyme 
2 garlic clove, crushed
1 carrot, finely chopped
1 stalk of celery, finely chopped
5 large Desiree or Maris Piper, peeled, chopped, boiled and mashed 
Butter (for mashing)
1/2 tube of tomato puree
1 tbsp Garam Masala 
Dash of Worcester Sauce 
300ml good quality lamb stock
Salt & pepper, to taste

Serve with: season vegetables

1. Heat some oil in the frying pan. Brown the onion, add in the garlic and thyme and cook until the aroma of the herbs is released but not burnt.

2. Add in the lamb and brown the meat.

3. Add in the rest of the vegetables and cook until they are soften.

4. Meanwhile, boil the peeled potatoes in salted water until they are soft enough to mash. Note: Don't forget to add in the butter and keep on tasting when mashing potatoes!

5. Back to the meat mixture. Time for a dash or two of Worcester sauce, tomato puree and Garam Masala. Note: Feel free to add more Garam Masala or tomato puree depending on personal taste.

6. Preheat the oven to 180 degree (fan oven).

7.   Pour in the stock, bring it to boil and let it simmer for 20 minutes or until majority of the liquid has evaporated. Add salt & pepper to taste.

8. Dish up the meat mixture in to an ovenproof pie dish that is deep enough but not too wide (or you will end up with a very thin pie). Top it up with the mashed potatoes. 

9. Put the pie in the oven and cook until the top is golden. It usually takes around 30 minutes.

10. Serves it with seasonal steamed vegetables and enjoy!

Wednesday, 16 October 2013

Bamboo Steamed Pearl Balls (珍珠球)

Although this is a 'traditional' dim sum dish, but I must confess I have never came across them at any of the dim sum restaurants I've visited in the past (or I was just too busy crunching spring rolls...!) I first found out about these delicious bad boys from an article in a free Chinese newspaper I picked up from a  Chinese supermarket in my area.
These dainty Pearl Balls are rather effortless to make and are perfect size for starters or party nibbles.  There are so many variations of Pearl Balls' recipe out there, it is hard to pin down one that is the most 'authentic' (if there is one?). Each cook has his/her own twist and so long the two key ingredients are there then all is well. As a true believer of 'you are what you eat', I always use free range or organic meat in all my recipes. The price of free range and organic produce has come down in recent years. It may come as a surprise, but I found local butchers offer a more competitive price than supermarket chains.  It is definitely worth spending the extra pound or two if possible, as these meat is definitely more flavorsome and of better texture than the battery farmed meat. One of the butcher I use stock up free range pork from Blythburgh, Suffolk (http://www.freerangepork.co.uk/). All their pigs and piglets spend their lives living outdoor, breathing in fresh air and only take shelter when they need it. Because these piggies spent their lives roaming around outdoor, there is much less fat from the meat in comparison to their battery farmed counterparts. For 500g of free range pork shoulder minced, it was approximately £3.50; a middle price range supermarket chain offers 500g lean pork minced at £3, not a huge difference in price but definitely a huge difference in quality.
Makes about 2 dozen
150g glutinous rice, soaked overnight in cold water and drained
500g minced pork (preferably free range)
3 dried Shiitake mushrooms, soaked overnight in cold water, finely diced
Handful of dried shrimps, finely diced
2 stalks of spring onion, finely chopped
3 garlic cloves, crushed
Thumb size fresh ginger, finely chopped
Splash of light soy sauce
Splash of Shaosing rice wine
Splash of sesame oil
Pinch of Chinese 5 spice
Pinch of ground white pepper
Salt to taste
1. Drained the soaked glutinous rice and Shiitake mushrooms.
2. Finely chopped and diced all the ingredients and mix them with the minced pork along with the seasoning and spices.
3. Layer the bamboo steamer with a sheet of greaseproof paper.
4. Use hands to roll the pork mixture into ping-pong ball sized ball, then roll the meatballs in the bed of glutinous rice until it is evenly coated with rice.
5. Place the balls in the prepared bamboo steamer. Ensure there is enough space between them so they do not touch each other.
6. Fill the wok with enough cold water and place the bamboo steamer on top (with the lid on).
7. Have the hob on high heat for 20 - 25 minutes or until the rice is cooked through. Do check the water level periodically to ensure the water has not evaporated.
And here we have some mouth watering Pearl Balls!